
If the big day of your wedding is coming up, you’re going to want to do everything in your power to make sure that everything goes off without a hitch and that this day becomes a happy occasion that you’ll reminisce about for years to come.
One thing that can help you to remember your wedding day as it really was is your wedding photos. So to help make sure that you get wedding photos that you’re happy with and enjoy looking at with your spouse and family, here are three tips for getting great wedding photos.
Come Up With A Shot List
Before you ever get to the location for your wedding photos, you’ll want to speak with your photographer about what shots you’re looking for.
There are so many different things going on around a wedding that simple shots can easily be missed if you don’t express to your photographer that they’re important to you. And then once the opportunity is gone, you can’t go back and get those photos after the fact. Knowing this, you’ll want to think long and hard about what shots you want to get and what vibes you’re going for with your photos.
If it’s important to you to get some great shots of the vintage engagement ring you now wear, make sure you add this to your shot list that you share with your photographer. And if you’re wanting a lot of candid shots of your guests, be sure to spell this out, too.
Don’t Think About Poses Too Much
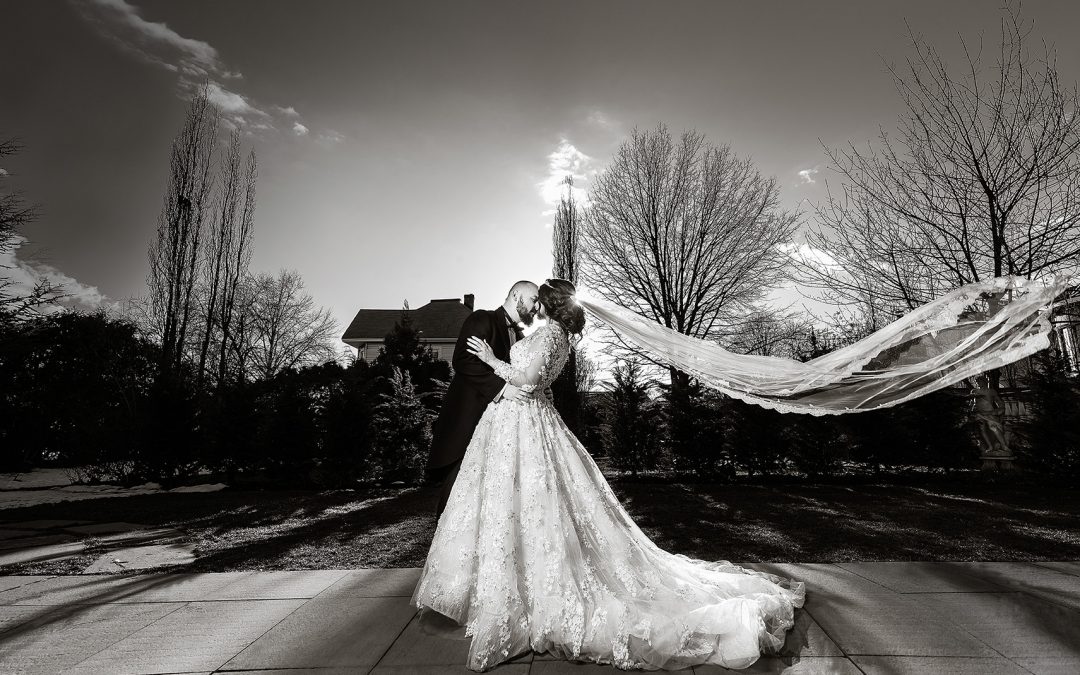
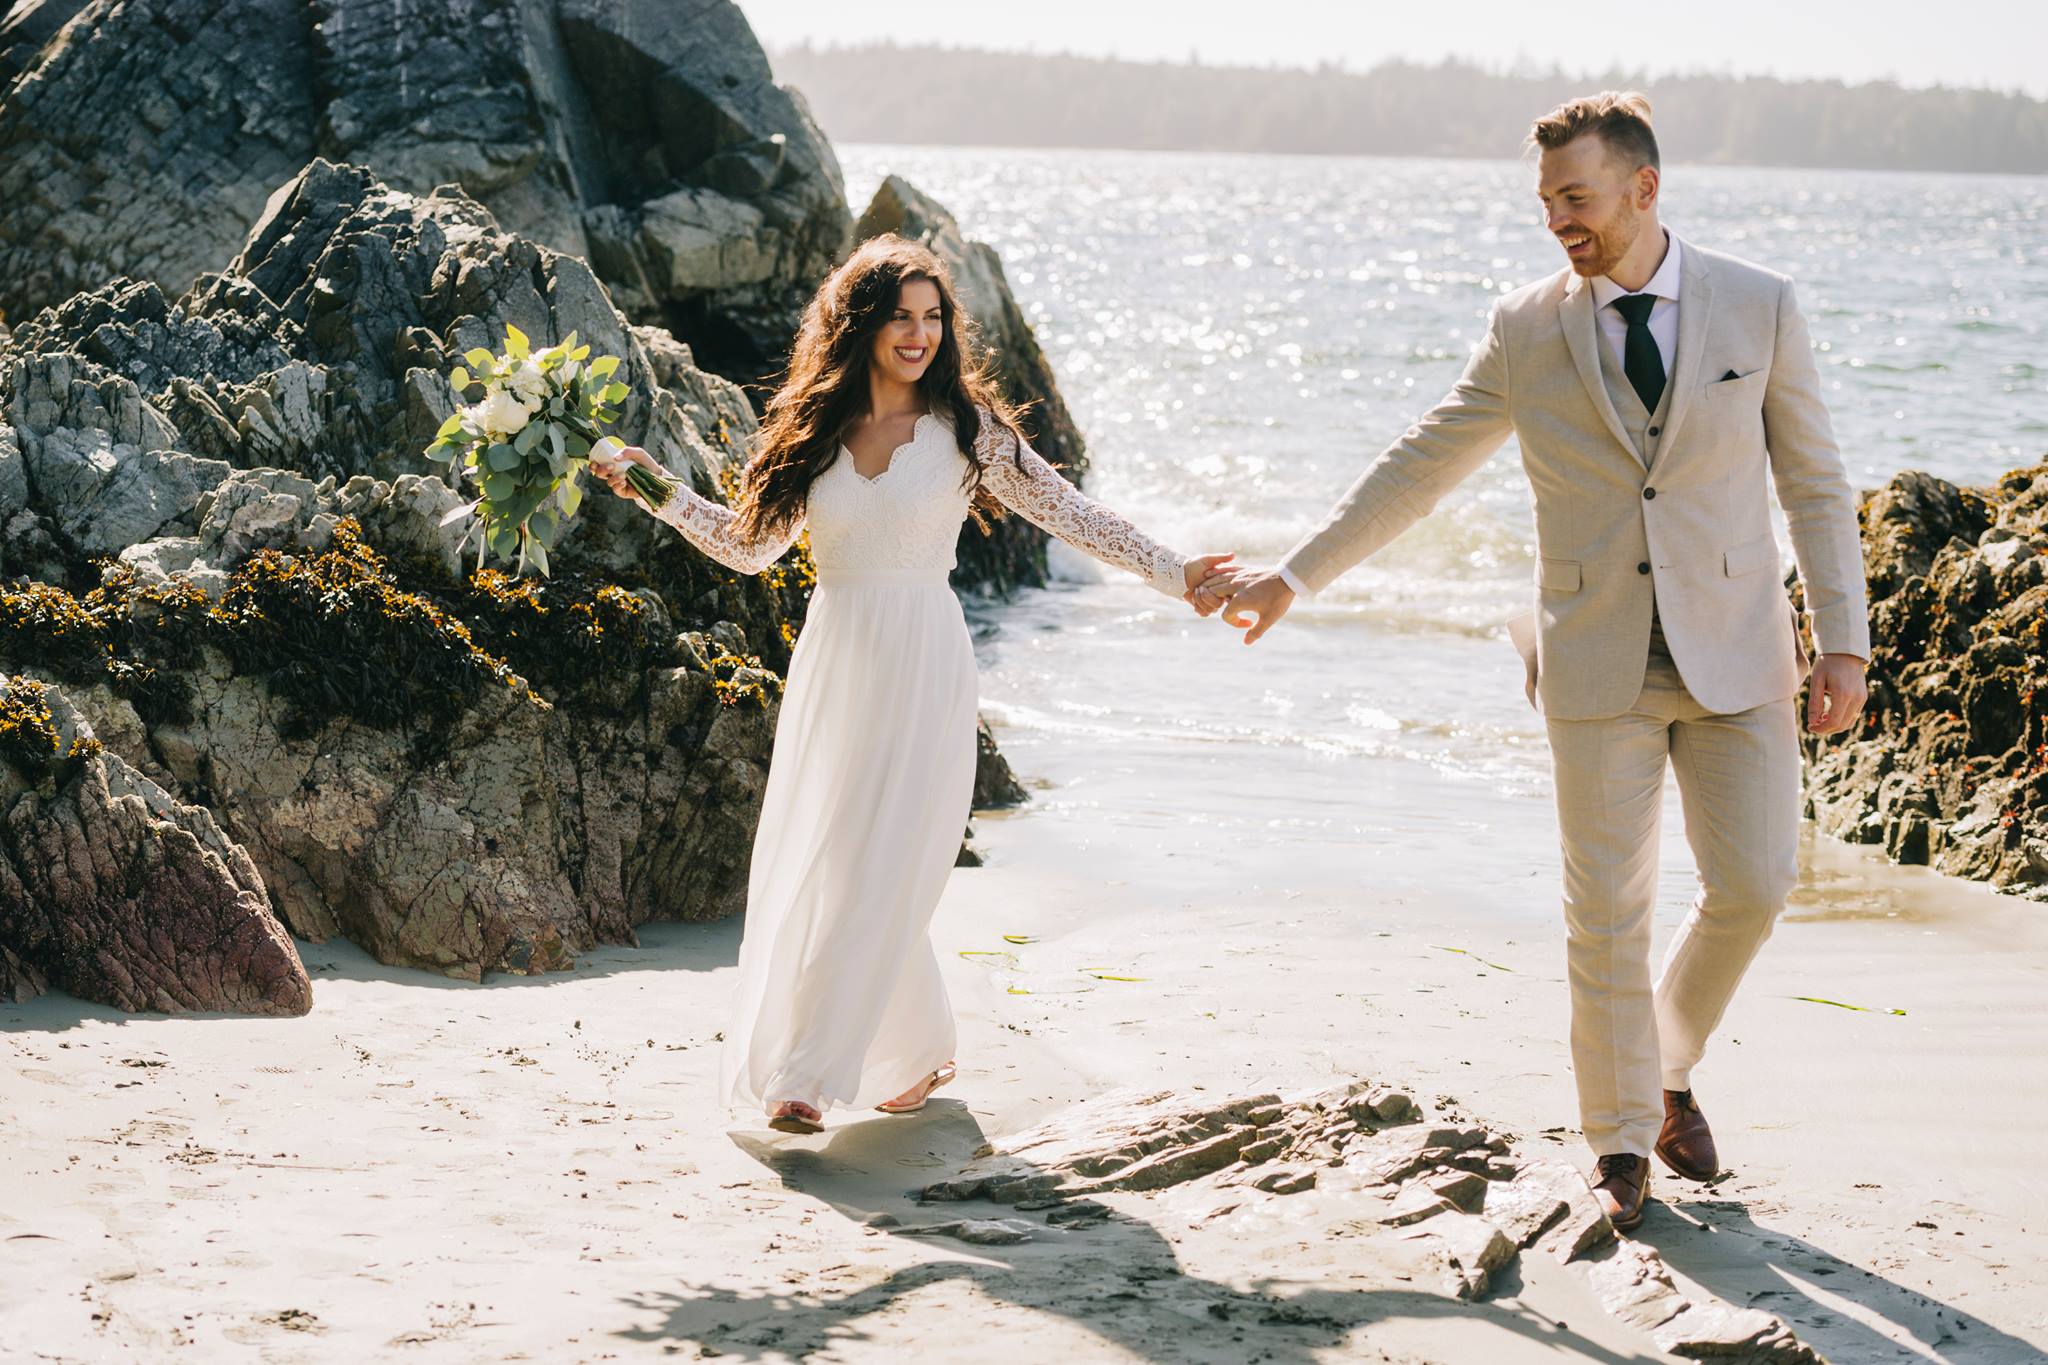
When it comes to the more formal photos of you and your new spouse, it can be easy to feel like you have to stand in a certain way and get certain poses that you’ve seen from others or in magazines. And while some of these poses can look great, if you find yourself feeling uncomfortable in front of the camera, it’s best not to rely on posing too much.
Rather, you and your photographer should aim for more candid shots of you and your spouse. Just be together and enjoy one another so that your photographer can get good shots of you at your most natural.
Trust Your Photographer
Unless you yourself are a photographer, it’s going to be in your best interest to find a photographer that has a body of work that you love and then just trust them to get the best photos of your big day.
Sometimes, photographers might make suggestions that seem weird or unnatural to you in how to position yourself or other items. But with their experience, they know just what they need to get the perfect shot. So trust yourself in your decision to hire them, and trust them to deliver what you’re looking for.
If you want to get great wedding photos of your big day, consider using the tips mentioned above when working with your photographer.
When it comes to photography, understanding the impact of natural light is key. Each season presents unique lighting conditions, and winter is no exception. In this comprehensive analysis, we will dive into the effects of winter light on your photography, exploring the challenges and opportunities it presents. Whether you’re capturing landscapes, portraits, or even stock photos, understanding how to work with winter light will undoubtedly enhance your results.
1. Understanding Winter Light
Winter light is characterized by its unique qualities that set it apart from other seasons. Due to the lower angle of the sun, the natural light during winter tends to be softer and more diffused. This soft light can create a calm and serene atmosphere in your photographs, perfect for creating a sense of tranquility. However, it also means that the light can lack the warmth and vibrancy found in other seasons, which can be a challenge to overcome when capturing subjects that require liveliness.
2. Embracing the Cool Tones
The distinct cool tones of winter can provide a unique atmosphere to your photography. Embracing these cool tones can add a sense of depth and moodiness to your shots, making them visually captivating. Experiment with white balance settings to emphasize these cool tones, or consider shooting during the golden hour when the winter light takes on a warm, golden hue, adding a touch of magic to your images.
3. Dealing with Low Light Conditions
One of the challenges photographers face during winter is the limited daylight hours, resulting in overall lower light levels. This can make it challenging to capture well-exposed images, particularly in shaded areas. Utilize the appropriate camera settings such as increasing ISO, using a wider aperture, or opting for a slower shutter speed, if possible, to compensate for the low light conditions. Alternatively, consider investing in additional artificial lighting equipment to enhance your subject’s visibility and overall image quality.
4. Creative Opportunities with Snow
Winter light brings with it the opportunity to capture stunning images that incorporate snow. The reflective nature of snow can brighten up your compositions, adding a dazzling element to your photographs. Utilize the winter light to capture the texture and intricate details of the snow, experimenting with different angles and perspectives to create captivating shots. Consider photographing during the “blue hour” when the sky takes on a deep blue color that contrasts beautifully with the pristine whiteness of the snow.
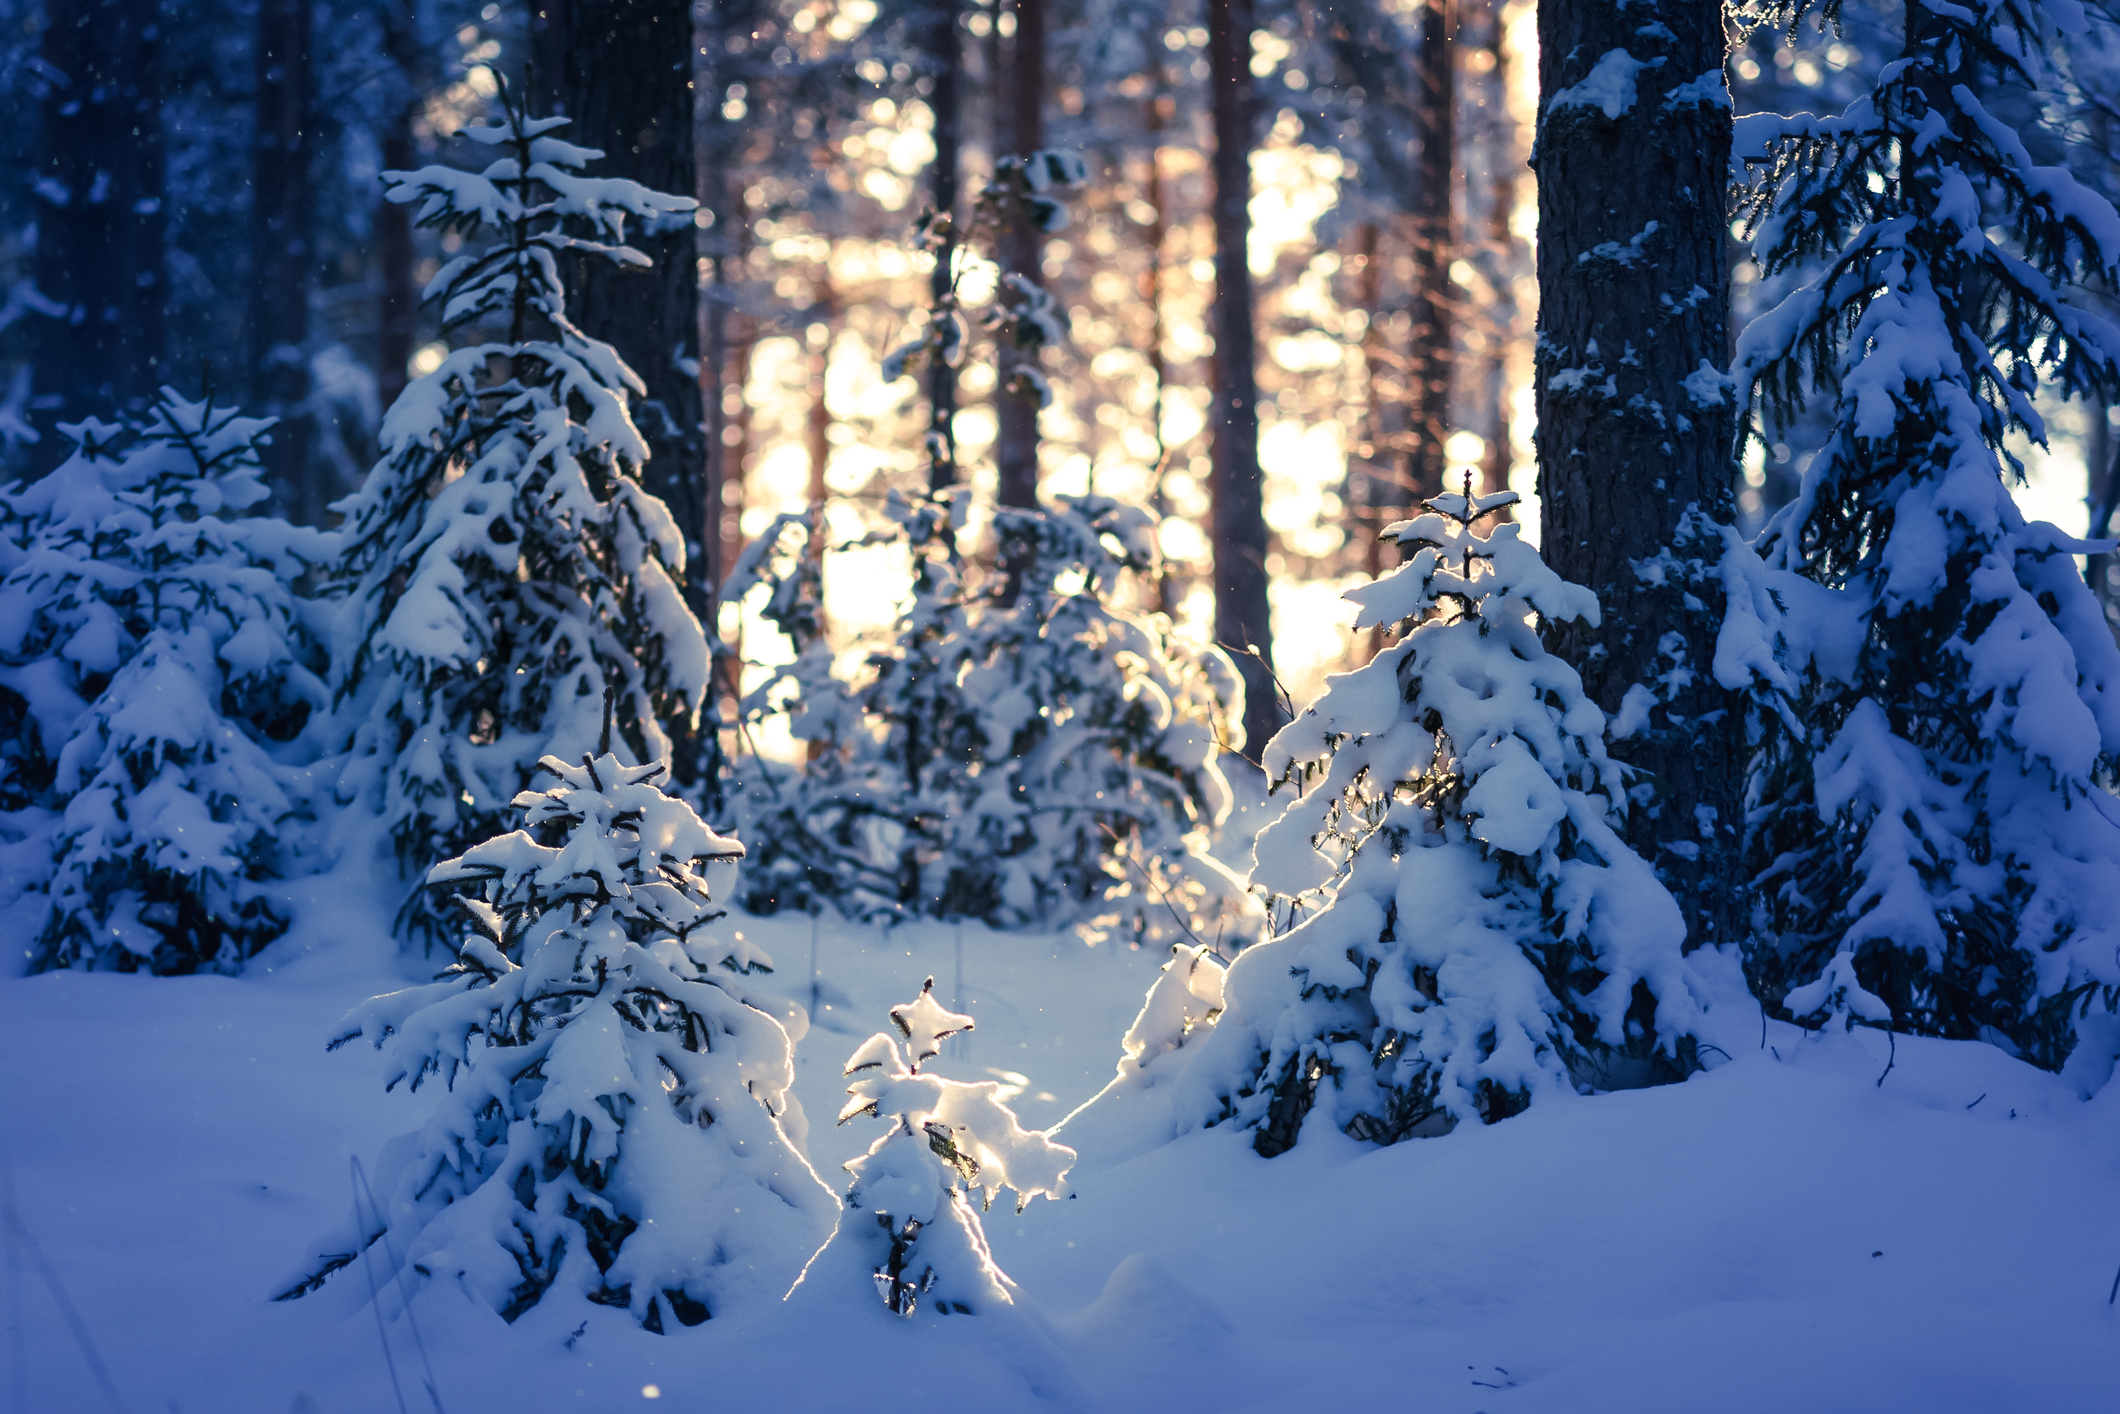
5. Capturing Winter Landscapes
Winter landscapes can be breathtakingly beautiful, and winter light plays a crucial role in capturing their true essence. The soft, diffused light can create a sense of depth and texture in your images, highlighting the contours and shapes of the landscape. Experiment with different compositions, making use of leading lines or foreground elements to create dynamic and engaging shots. The contrast between the snow-covered ground and the dramatic winter sky can produce stunning visual effects.
6. Portraits in Winter Light
While winter light may lack warmth, it can still provide a pleasing quality for portrait photography. The soft, diffused light acts as a natural diffuser, reducing harsh shadows and minimizing imperfections on the subject’s skin. Utilize reflective surfaces like snow or white backgrounds to bounce light onto the subject, enhancing the overall lighting conditions. During the golden hour, experiment with backlit portraits against the winter landscape, creating a warm and ethereal ambiance.

7. Implications for Stock Photos
Stock photos are in high demand across various platforms, and understanding the effects of winter light is essential for producing compelling stock images. Catering to different clients’ needs, it is crucial to harness the unique ambiance winter light offers, while also ensuring flexibility for potential buyers’ desired applications. Capturing a range of images from landscapes to portraits, embracing the winter mood, and showcasing the potential versatility of winter light can significantly expand the demand for your stock photography.
Winter light presents both challenges and opportunities for photography. Understanding the distinct characteristics of winter light and adapting your techniques accordingly will help you create captivating and compelling images. Whether you’re photographing landscapes, portraits, or stock photos, embracing the cool tones, working with low light conditions, and leveraging the beauty of snow will undoubtedly enhance your winter photography. So, bundle up, grab your camera, and venture into the winter wonderland to capture stunning images that truly showcase the beauty of winter light.
If you want to be able to have photos from your vacations that help you to better remember the time that you spent away from home and make you proud to show off and display at your home, office, or assisted living facility, then you need to learn how to get away from taking basic and boring photos and start taking photos that really show off your surroundings and your happiness.
To help you in doing this, here are three ways to take better vacation photos.
Think About The Photos You Want To Come Home With
When you’re planning your vacation, you likely have envisioned when you’ll be doing and what things will look like while you’re there. This can be great to help you in planning what photos you want to make sure you get.
As you envision yourself going on vacation and then sharing with others what you did through the photos you show them later, what pictures are you showing them? Are you showing them all kinds of landscapes that you took? Are you in every photo? Are the photos staged or candid? What’s the lighting like? If you’re able to think about all of these things beforehand, you’ll be much more likely to actually snap the pictures of the things you want to document rather than just taking random pictures that don’t capture the beauty of what you did.
Spend Time Learning About Your Camera
Something else that can be very helpful when you’re wanting to take great pictures of your vacation is to get to know the camera that you’ll be using. Whether it’s the camera on your phone or some other camera, playing around with the settings and learning how to use it to get shots you love will make sure that you don’t waste time trying to figure out how to get the photo you want when you’re in the moment.
Take All The Candid Photos
While taking photos of people posing on your vacation can be a great way to get pictures of people looking their best and looking straight at the camera, something that you might want to try for your next trip is to take candid photos instead.
When taking candid photos, you can capture the real magic of many organic moments rather than having to force people to be ready for the photo. This can be a great way to photograph memories that you’ll want to keep close to you for years to come. And if you want some candid shots of yourself, make sure you ask someone you’re with to get these kinds of photos of you, too.
If you want to take better vacation photos during your next trip, consider using the tips mentioned above to help you learn how this can be done.
If you’re interested in photography, taking pictures of landscapes may be what appeals to you most. But while it might seem like an easier form of photography since landscapes don’t usually move and change as quickly as people or other subjects in a photo will, knowing how to capture all of the beauty of the natural world can be incredibly challenging. So whether you’re trying to take a picture of a beautiful view you found while hiking or are wanting to showcase the new landscaping you just finished on your property, there are a few principles of landscape photography that you should know and follow.
To show you just what these are, here are three tips for getting beautiful landscape photos.
Be Willing To Put In The Work
While you won’t have to worry about getting a landscape to smile like you do when taking a picture of a person, you still have to be willing to put in a huge amount of work to get beautiful landscape photos.
In many cases, getting a swoon-worthy photo requires you to either get up very early or stay up late. Additionally, it can also take a lot of physical work in hiking or climbing to get to a vantage point where your photos will look the best. And if the shot you’re trying to get is a popular one, you’ll likely also have to deal with other people and photographers potentially getting in your way. But if you’re willing and able to put in the work, you can get gorgeous shots.
Learn How To Effectively Use A Tripod
When shooting landscape photography, you want to be able to show as much of the area in focus as you can. But to do this, you’ll have to hold very still.
Especially if you’re trying to take a photo with a longer exposure, any movement between the frames is going to make for a blurry photo. To keep this from happening, you’ll want to learn how to effectively use a tripod to help your camera stay steady so that you can get the best possible landscape photos.
Give The Viewer Something To Look At
While you might see an amazing view that you want to share with others, beauty really is in the eye of the beholder. So to help those viewing your landscape photos to really see what you’re intending, it’s best to have something to be the focal point of your photos. By giving every landscape photo a focal point, your audience will have something that immediately draws their eye and helps them to see exactly what you intended for them to see in your photo.
If you’re trying to get better at taking pictures of landscapes, consider using the tips mentioned above to help you achieve this goal.
If you live in a small space but have a lot of photos and memories that you want to display, you might be struggling to figure out how to make this work in the areas you have available to you. But luckily, there are a lot of ways that you can display the pictures you love and cherish without taking up a lot of space or making your room feel too cluttered.To help you see how this can be done, here are three tips for displaying photos in a small space.
Make Grid Lines
If your preferred way of displaying your photos is on your wall, putting together a collage wall might be the best way for you to get the maximum amount of photos on a smaller wall.
When putting together the collage wall, you’ll want to be careful about how you choose to use your frames and what photos you include. If you’re wanting to use all the same size of frames for your wall, you can leave just a small space between each frame to make your collage wall look great. But if you’re using different sizes of frames and photos, you should focus on keeping to certain grid lines so that your collage wall doesn’t look too chaotic. By staying within certain boundaries and leaving a few lines running through the frames, you can make any collage wall look very well designed.
Try Layering
In some instances, you might have shelves to display your photos and other momentos as opposed to using frames that you place directly on your walls. In this case, you can get away with layering some of your photos rather than displaying them all in a straight line.
If you are able to layer some of your photos, meaning that they overlap a bit with their frames or the edges of the photos, you can place more photos on your shelves. Using photos mats will also help to make layering your photos work better so you can still see basically all of the picture.
Print Photos On Magnets
For some people, your walls might already be used for other things so that you can’t really put any of your photos on them. Additionally, you might be staying in a place where you can’t put holes in the walls, like at an assisted living facility. In circumstances like this, you might want to print your photos on something other than paper.
By printing your photos on magnets rather than on paper or canvas, you can use your fridge or other appliances to display your photos. This can be a great way to make the most of your available space to still see the pictures you love.
If you have a small space but a lot of photos that you want to display in this area, consider using the tips mentioned to help you plan this out.
Have you been on an overseas holiday and have canvases rolled up in your closet or maybe you purchased a canvas online only for it to arrive rolled up in a tube? If the answer is yes, then it is time to get them unrolled and on the wall! Easier said than done I hear you say! With the multitude of options and different framing opinions it can get quite overwhelming and confusing however this guide will give you the knowledge ensure you are getting the correct materials and the perfect frame for your works of art!
Step 1: Information on mounting your Canvas
There are two different ways that you can mount your canvas in order to hang it on the wall. Firstly, you can stretch the canvas over what is commonly called a stretcher bar. This is a solid wood frame that sits underneath the canvas and the canvas is pulled tightly over the bar and stapled to the back, essentially making the canvas frameless. This is the correct way to mount a canvas and this technique is used in all art galleries. However, it some instances you may not be able to stretch your canvas. This could be because there is not enough canvas to pull around the stretcher bar and too much of the artwork will be lost, or due to poor quality canvases used in some tourist destinations the canvas maybe too brittle or thin to withstand the stretching process. Therefore, in these cases you may opt to glue the canvas to a wooden board or stick it down on an adhesive foam core backing and then place a frame around the outside. This method should only be used if there is no other option to mount your canvas.
When collecting quotes for canvas stretching, it is important to not only ask for a price but what size stretcher bar they will be using to stretch your canvas. Although this may not make a lot of sense to you, it will help you decipher the array of different quotes you will receive. Some picture framers will use the cheapest stretcher bar available and place a brace bar in the middle of the canvas so that it will stop it bowing or warping. This is usually only a temporary measure and eventually it will move out of shape and will not sit flush on your wall or in the frame. The quote for this will be on the cheaper end as they will want to secure your business. Quotes that are a little higher that use a larger stretcher bar with no brace are the ones to look for. Using the correct size stretcher bar means that a brace is not required as it is an adequate size to support the tension of the canvas once it is stretched. This is an art gallery standard and one you should look for if you want your canvas to remain in shape for many years to come.
Step 2: Deciding on a Frame
Once your canvas is stretched you have the choice to leave it as a stretched canvas and hang it frameless or you can choose a frame to place around it. Choosing to leave it frameless can work well on some canvases that have a very busy subject matter or sometimes less is more and adding a frame only detracts from the artwork rather than adding to it. If you decide to frame your canvas it is good to note that the frame does not provide any additional structural support, it simply adds style to your canvas and room and/or enhances the subject or colours of the canvas.
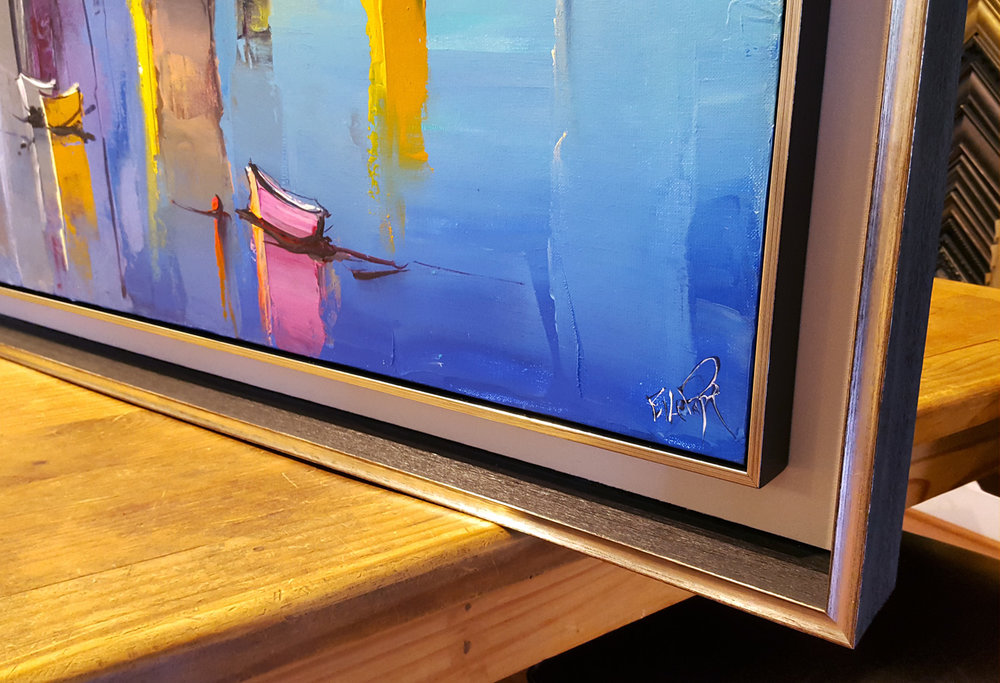
Step 3: What type of frame do I choose?
If you decide to add a frame to your stretched canvas you have two choices in regards to the style of the frame. The first one is a unique frame that is made specifically to go around a stretched canvas. Known as an “L-Bar” or “Floating Frame” it gets the L-Bar name from its shape and Floating Frame as the canvas appears to be floating in the frame. This particular frame sits around the outside of the canvas and a small gap can be created between the frame and the canvas, further adding to the floating appearance. It is important to note that this frame does not cover any part of the front of the canvas, unlike a typical frame where the artwork sits inside a rebate. This style is typically used in art galleries and adds a subtle yet stylish addition to the artwork. These frames are typically only 5mm to 10mm wide at the front, but they cover the entire side of the canvas and wrap around the back. These frames are typically plain and usually come in a standard range of colours.
The second option for canvas frames is an ordinary frame that has a large depth to it, so it covers the sides of the canvas. This will give it the same “box” look at the L-Bar but the difference with using this frame is that the frame will cover around 5mm of the front of the canvas, where the artwork sits in the rebate. The advantage of using this type of frame over the L-Bar or Floating Frame is that you will find a bigger choice of colours, textures and styles in these frames since the width of the frame can vary which allows for frame embellishments to be created.
Many people ask why they cannot use an ordinary frame to place around the stretcher bar. The answer is you can, but it isn’t advised for one reason. Imagine you place your newly stretched canvas with a 5cm deep stretcher bar on your hallway wall, so you can admire it every time you walk past it. If you place an ordinary frame around the outside and the frame is not deep enough to cover the stretcher bar, you will see the stretched canvas protruding out the back of the frame which diminishes the look and leaves it looking unprofessional. The only time it is recommended not to use canvas frames and to use an ordinary frame is if the canvas frame is going on a wall that you do not walk past and only see from the front.
So when you find your rolled up canvases in your closet and you are looking around for canvas frames, please take into account the information above and hopefully you will have a professionally framed artwork that will be displayed proudly in your home for many years to come.
The one thing that all budding photographers want, besides a top of the line Canon camera, is a location where their creativity can flourish. A home photography suite, filled with a plethora of backdrops, lights, and props is not easy to come by. However, if you are willing to do the work, you can have an awesome photography studio setup, right in your very own home. Get all of the equipment you need to choose captivating pictures and prepare to create a space where you can elevate your craft.
When it comes time to set up a home photography studio, you have to pick out the right location accordingly. First, you have to accept the fact that you’ll have to work with the space that you have. Photography buffs that happen to live in roomy houses with plenty of extra bedrooms will have more choices. On the other hand, even if you live in a small studio apartment, you still have the option of moving around your furniture and rearranging things to make room for a quaint photography setup. Other factors for photographers to consider are noise levels, foot traffic, lighting, and storage. Fully explore each area of your home, look around, and visualize what the final workspace will look like.
During the setup stage, you should be consciously aware of how lighting elements will come into play. Some choose areas to set up their studios where they know they will get a lot of natural light, and only need to use additional secondary lighting for drama and effect. If you are planning to reconfigure the existing lighting with LED, recessed, or track lighting, check out the selection at your local hardware store. These Lowes coupons will come in handy when you want to compare light fixtures. Consider adding a dimmer switch to your home studio and have even more control over how your photos come out.
Once you have your photography workspace roughed out, areas for storing your equipment, computer, and other peripherals need to be established. Stackable plastic storage bins take up minimal space, and they come in a lot of fun colors. Shelves can also be installed to help keep your home studio organized and clutter-free. Modern desks normally come with an assortment of drawers, cubbies, and cabinets, so you can keep other necessary equipment like printers, photo paper, and prints neatly stored away as well. As you begin working in your photography studio,
Having a peaceful and private space to shoot photographs, edit your pictures, and assemble a portfolio won’t just make you more productive – it will help you to become the best photographer you can be. With the right tools and the proper inspiration, you will see changes in the way you treat your photography, view art, and regard your craft. Having a home studio to work in just may spark new interests and lead to you taking up other forms of photography. So, start working on a masterplan for creating the ultimate home photo suite.
Planning a photography trip can be an exciting thing to do, especially in these times where we’re not sure when we’ll be allowed to travel again and having something to look forward to will help.
There are many popular locations to get photos of: the Matterhorn mountain in the Alps, on the border between Switzerland and Italy; the impressive skyline of New York; the imposing pyramids of Giza. These are just some of the most amazing places to photograph in the world – we could go on and on!
It’s exciting to think about taking a trip. That said, being able to relax and get the best shot can only happen if you’re not worried about anything. Planning a trip can be incredibly stressful, so here are a few things we recommend that you plan before turning up:
Research not only what you’ll be photographing, but also the area you’ll be in. Is it a pickpocketing hotspot? Is it very sandy or incredibly humid? Take extra precautions around your gear.
The number-one thing you don’t want to be worrying about on a photography trip is your gear. You want to be able to grab your camera and get the shot. Accidents happen, we’ll never be able to stop that, but if you plan for the possibility and make sure your gear is insured, that takes away one level of worry.
A big worry for many is leaving your car while you’re on the trip of a lifetime, so trust in a company like Parkon.com to organize airport parking for you, whether you need short-term or long-term parking.
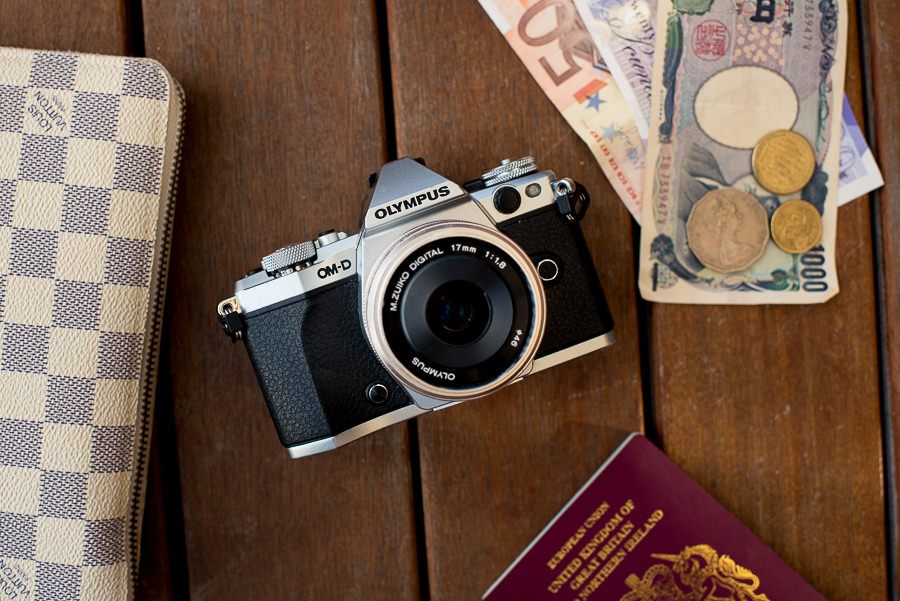
If you can, pack your most valuable camera gear in your carry-on luggage. While you may be concerned about the extra weight, having your most valuable possessions with you is vital.
Similarly, ditch the camera bag if you can. Using a generic-looking day bag that doesn’t look like a camera-specific bag will mean you don’t stand out as much to potential thieves. The same goes for that branded camera strap.
Popular travel photography locations (like the Matterhorn) get booked up pretty far in advance. Make sure you reserve your spot to get the shot you have been waiting for. As an extra bonus tip, quieter or more out of the way hotels usually lend themselves better to leaving before dawn and arriving after sunset for those two all-important golden hour opportunities.
At the end of the day, your trip should be a fun experience. Making sure you plan in advance will go a long way to ensuring you can make the most of what might be a limited window to get that ‘bucket shot.’ Once you have this shot get it printed on a canvas by personalizedbykate.com.
Always keep your eyes open. Remember that most tourist crime can be prevented with prior planning, so act in a respectful manner and don’t draw attention to the gear you’re carrying.
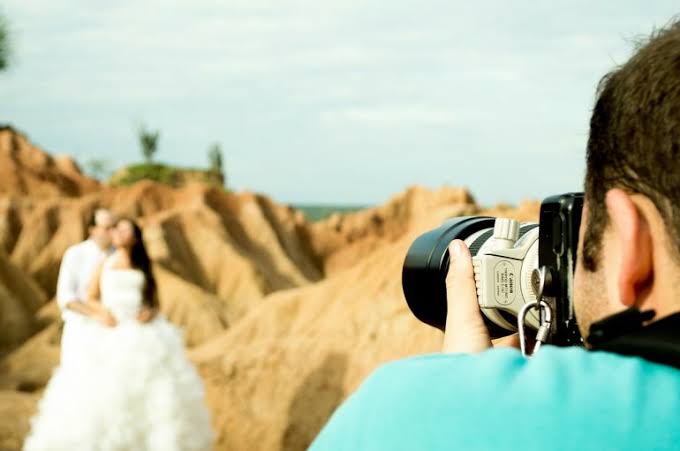
Are you an aspiring photographer who would love to dip their feet into the world of professional wedding photos? After all, there’s not much to it, right? Wrong. A person’s wedding is one of the most important days of their lives. It’s your role as the photographer to capture the moment so that they can savor it forever through beautiful imagery.
Capturing the true essence of such an important day isn’t as simple as snapping your camera a few times at the bride and groom. In order to truly seize the moment through the power of your photos, you’ll need to know the right tips. Take a look at what you’ll need to know before you shoot your first wedding.
Shadow A Pro First
When people hire a wedding photographer, they want to know that they’re experienced. The best way to get experienced before your first shoot is to shadow a pro. Get to know the dos and don’ts of wedding photography by following them around while they work.
Through their experience, you’ll be able to learn techniques that you can save for your own shoots later on. Even though you may be convinced that you already know all that there is to know, there’s always more to learn, especially when it comes to wedding photography.
Bring Extra Gear
You never know when unforeseen circumstances could throw you for a loop. When shooting, always bring extra gear, from lenses to batteries. That way, you know that if your equipment fails, that you’ll still be able to deliver what your clients have hired you for.
Bring more than what you think you need in order to ensure that you don’t have any issues during your shoot.
Focus On Precious Moments
Weddings are all about capturing the most precious moments of the ceremony. Most pros will advise you to focus on firsts. For example, capturing the couples first kiss together and first dance as a married couple.
Plan the shoot before you start so that you know when these moments are going to happen. Try to get as many angles as possible!
Move Quickly
When it comes to capturing moments, they can finish in a split second. Therefore, it’s critical that you’re moving quickly. Being on your toes is a vital part of wedding photography. Make sure that you’re always observing and anticipating potential shots.
A wedding shoot is no time to be gingerly walking around as if you’re one of the guests. Get in on the action and move as fast as you can!
Don’t Forget The Guests
When shooting a wedding, a lot of photographers focus mostly on the bride and groom. However, there are other people there celebrating with them. Don’t forget to capture their joy and reaction to the beautiful ceremony!
Choosing a wedding photographer happens to be a vital portion of your wedding planning process similar to choosing a venue. Again, you must also discover the ideal dress too. However, unlike your catering or flowers, your wedding photographers continue to live for your entire life. This is really tough to discover a photographer who will match your taste and aesthetic as people continue to wonder whether or not their photographer will be successful in capturing their vital moments. Unlike the working of other wedding vendors, like cake, flower arrangements, music, photographers are not things that you can smell, taste, hear, or even see. By this it is meant, for choosing the ideal photographer, you must make careful research. Additionally, you must be selective related to artistic style, professional skills, and personal demeanor:
Also Read: best wedding anniversary wishes